SPICED BUCKWHEAT PORRIDGE WITH CASHEW YOGURT, MULBERRIES & MAPLE

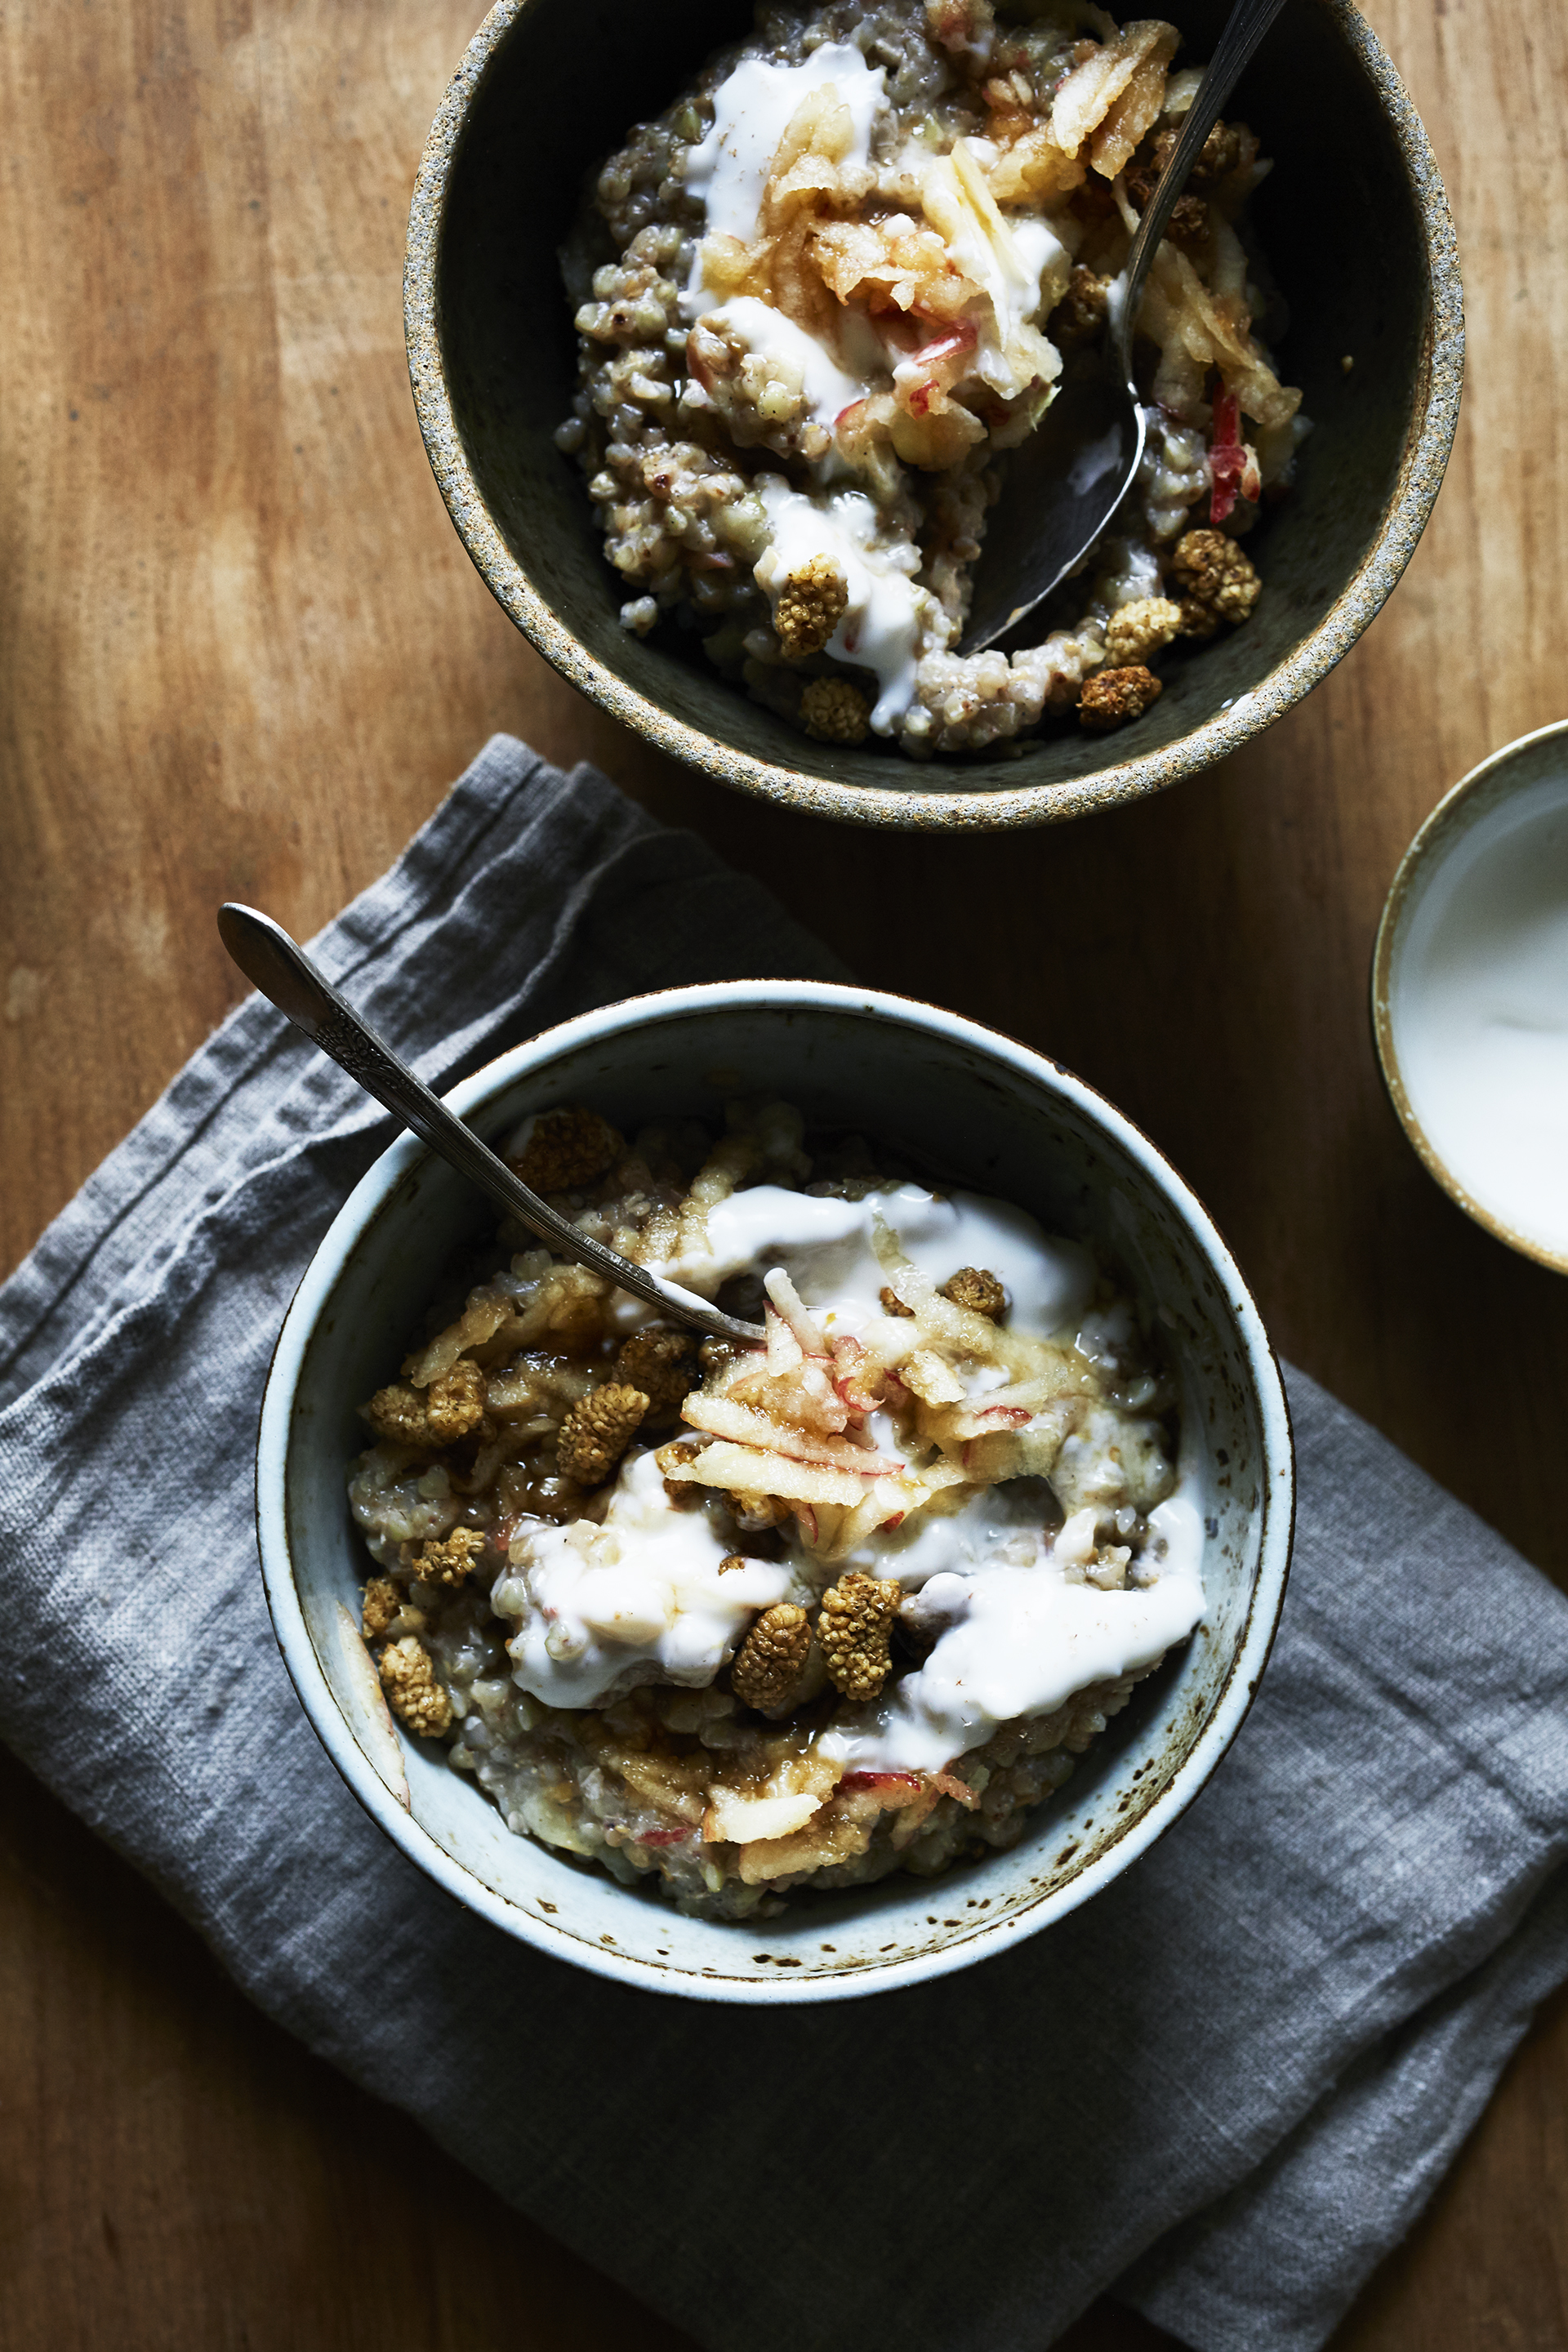
Buckwheat is such a warming grain. It’s that deep nuttiness that makes a bowl of this porridge so calming.  I know most of us start our days with bowl of oats, but sometimes I find them a little hard on my digestion.  Buckwheat is technically a seed (related to sorrel and rhubarb), so I find it feels a little lighter & easier on my system.  Thank god, because I’ve really been missing a morning bowl of porridge.

This one is filled with wintry, spiced flavors that make it a little more special than your everyday banana and peanut butter.  I love the addition of yogurt on this, because a play on temperature is always a good idea.  The warm porridge and cold yogurt is an addicting combination.  Maybe, now, it will replace your daily overnight oats ;)

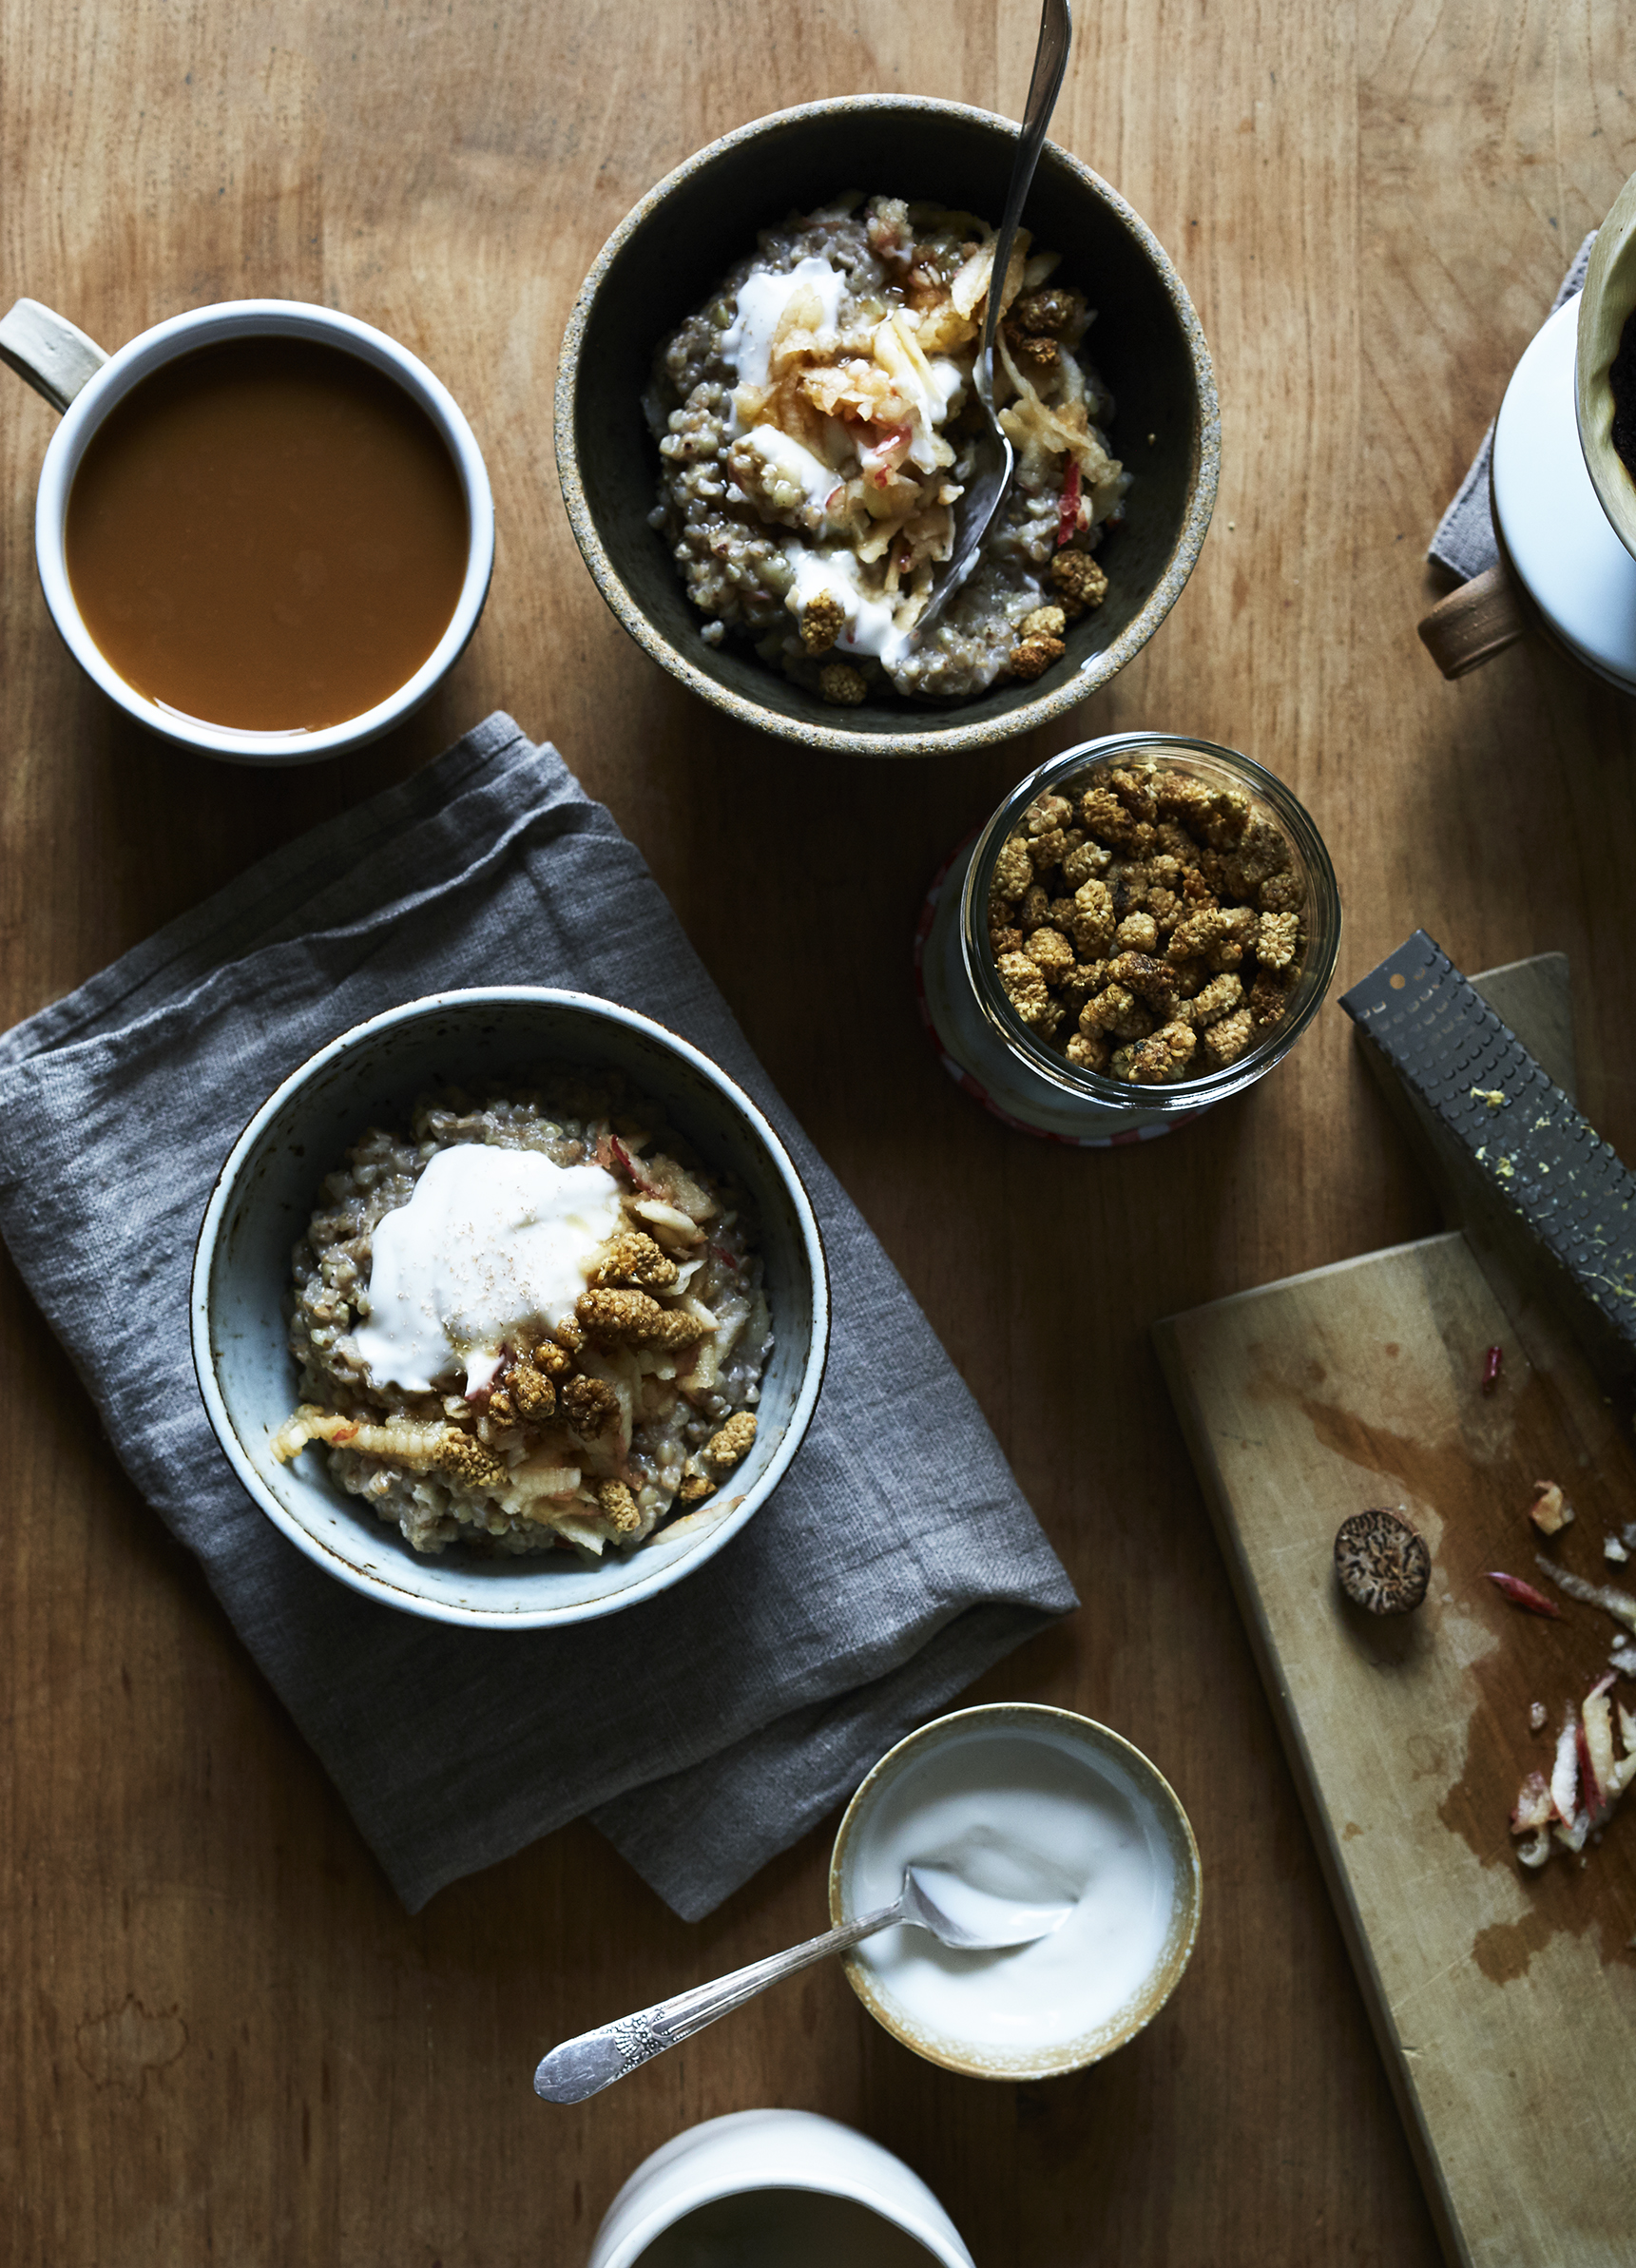
Spiced Buckwheat Porridge with Cashew Yogurt, Mulberries & Maple (Serves 4) Gluten-free, Vegan

  • 1 cup buckwheat groats, soaked for 6+ hours or overnight
  • 2.5 cups almond milk (or your preference)
  • 1/2 teaspoon sea salt
  • 1 teaspoon vanilla extract
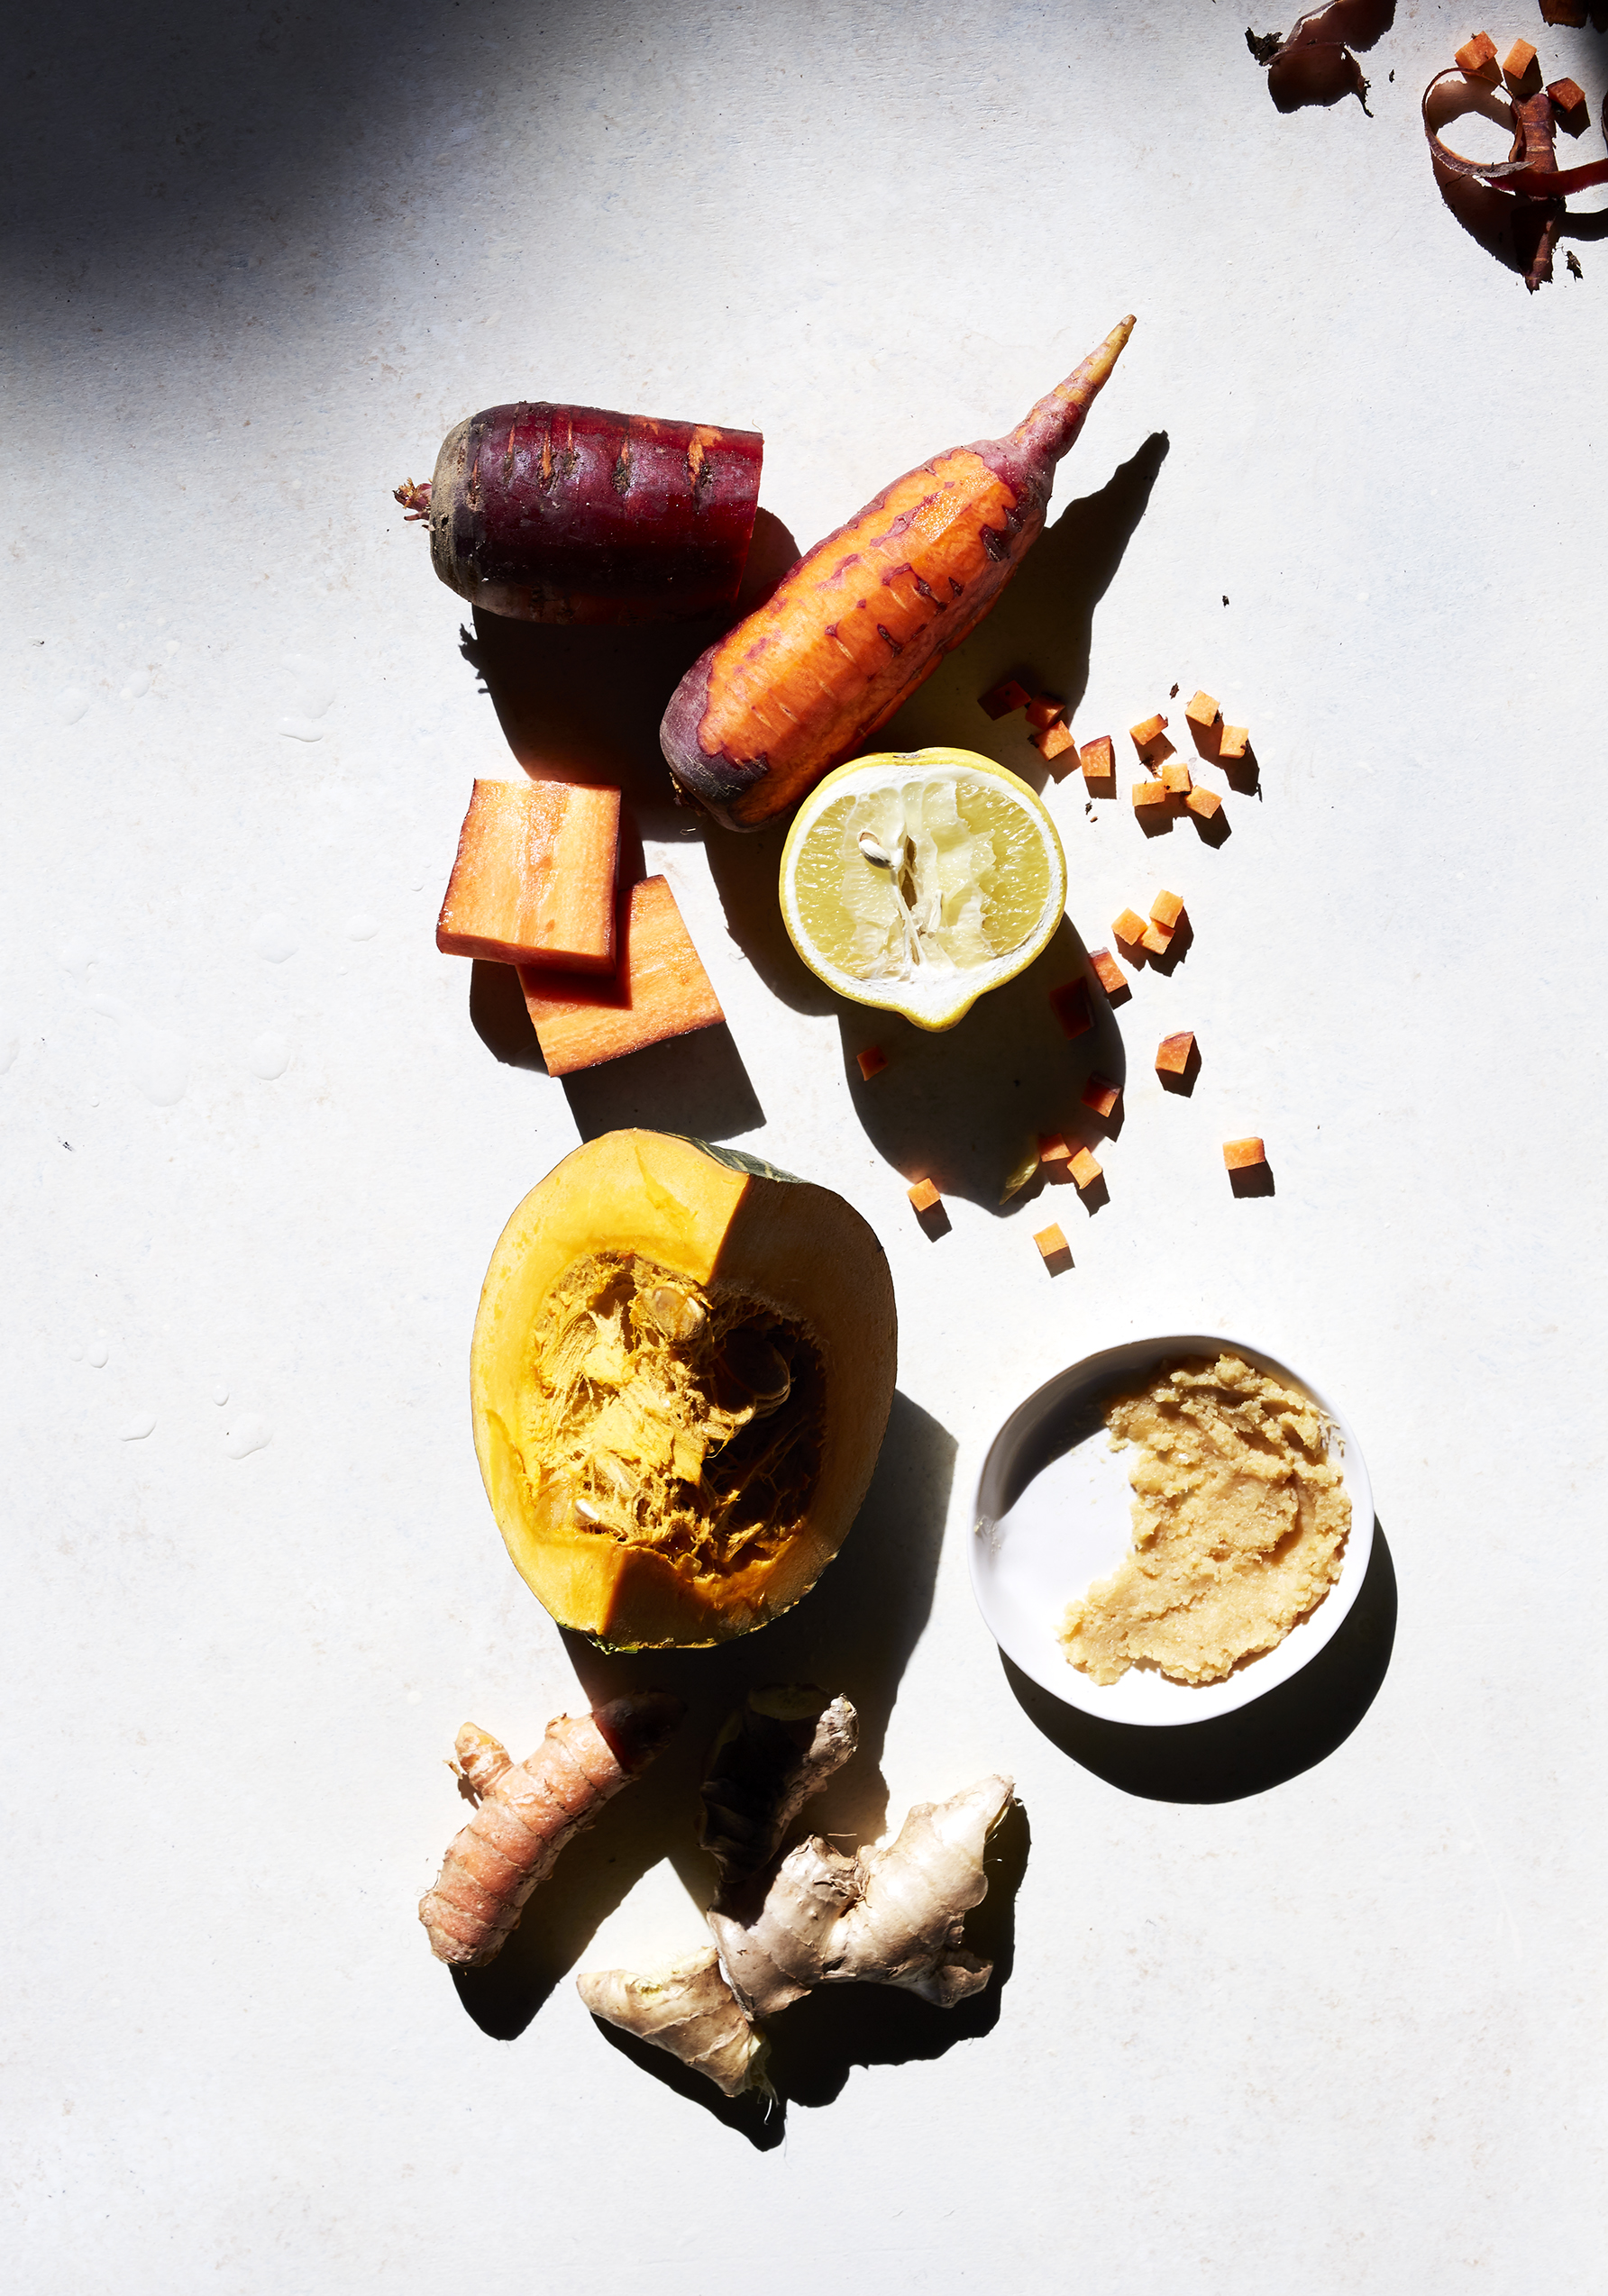
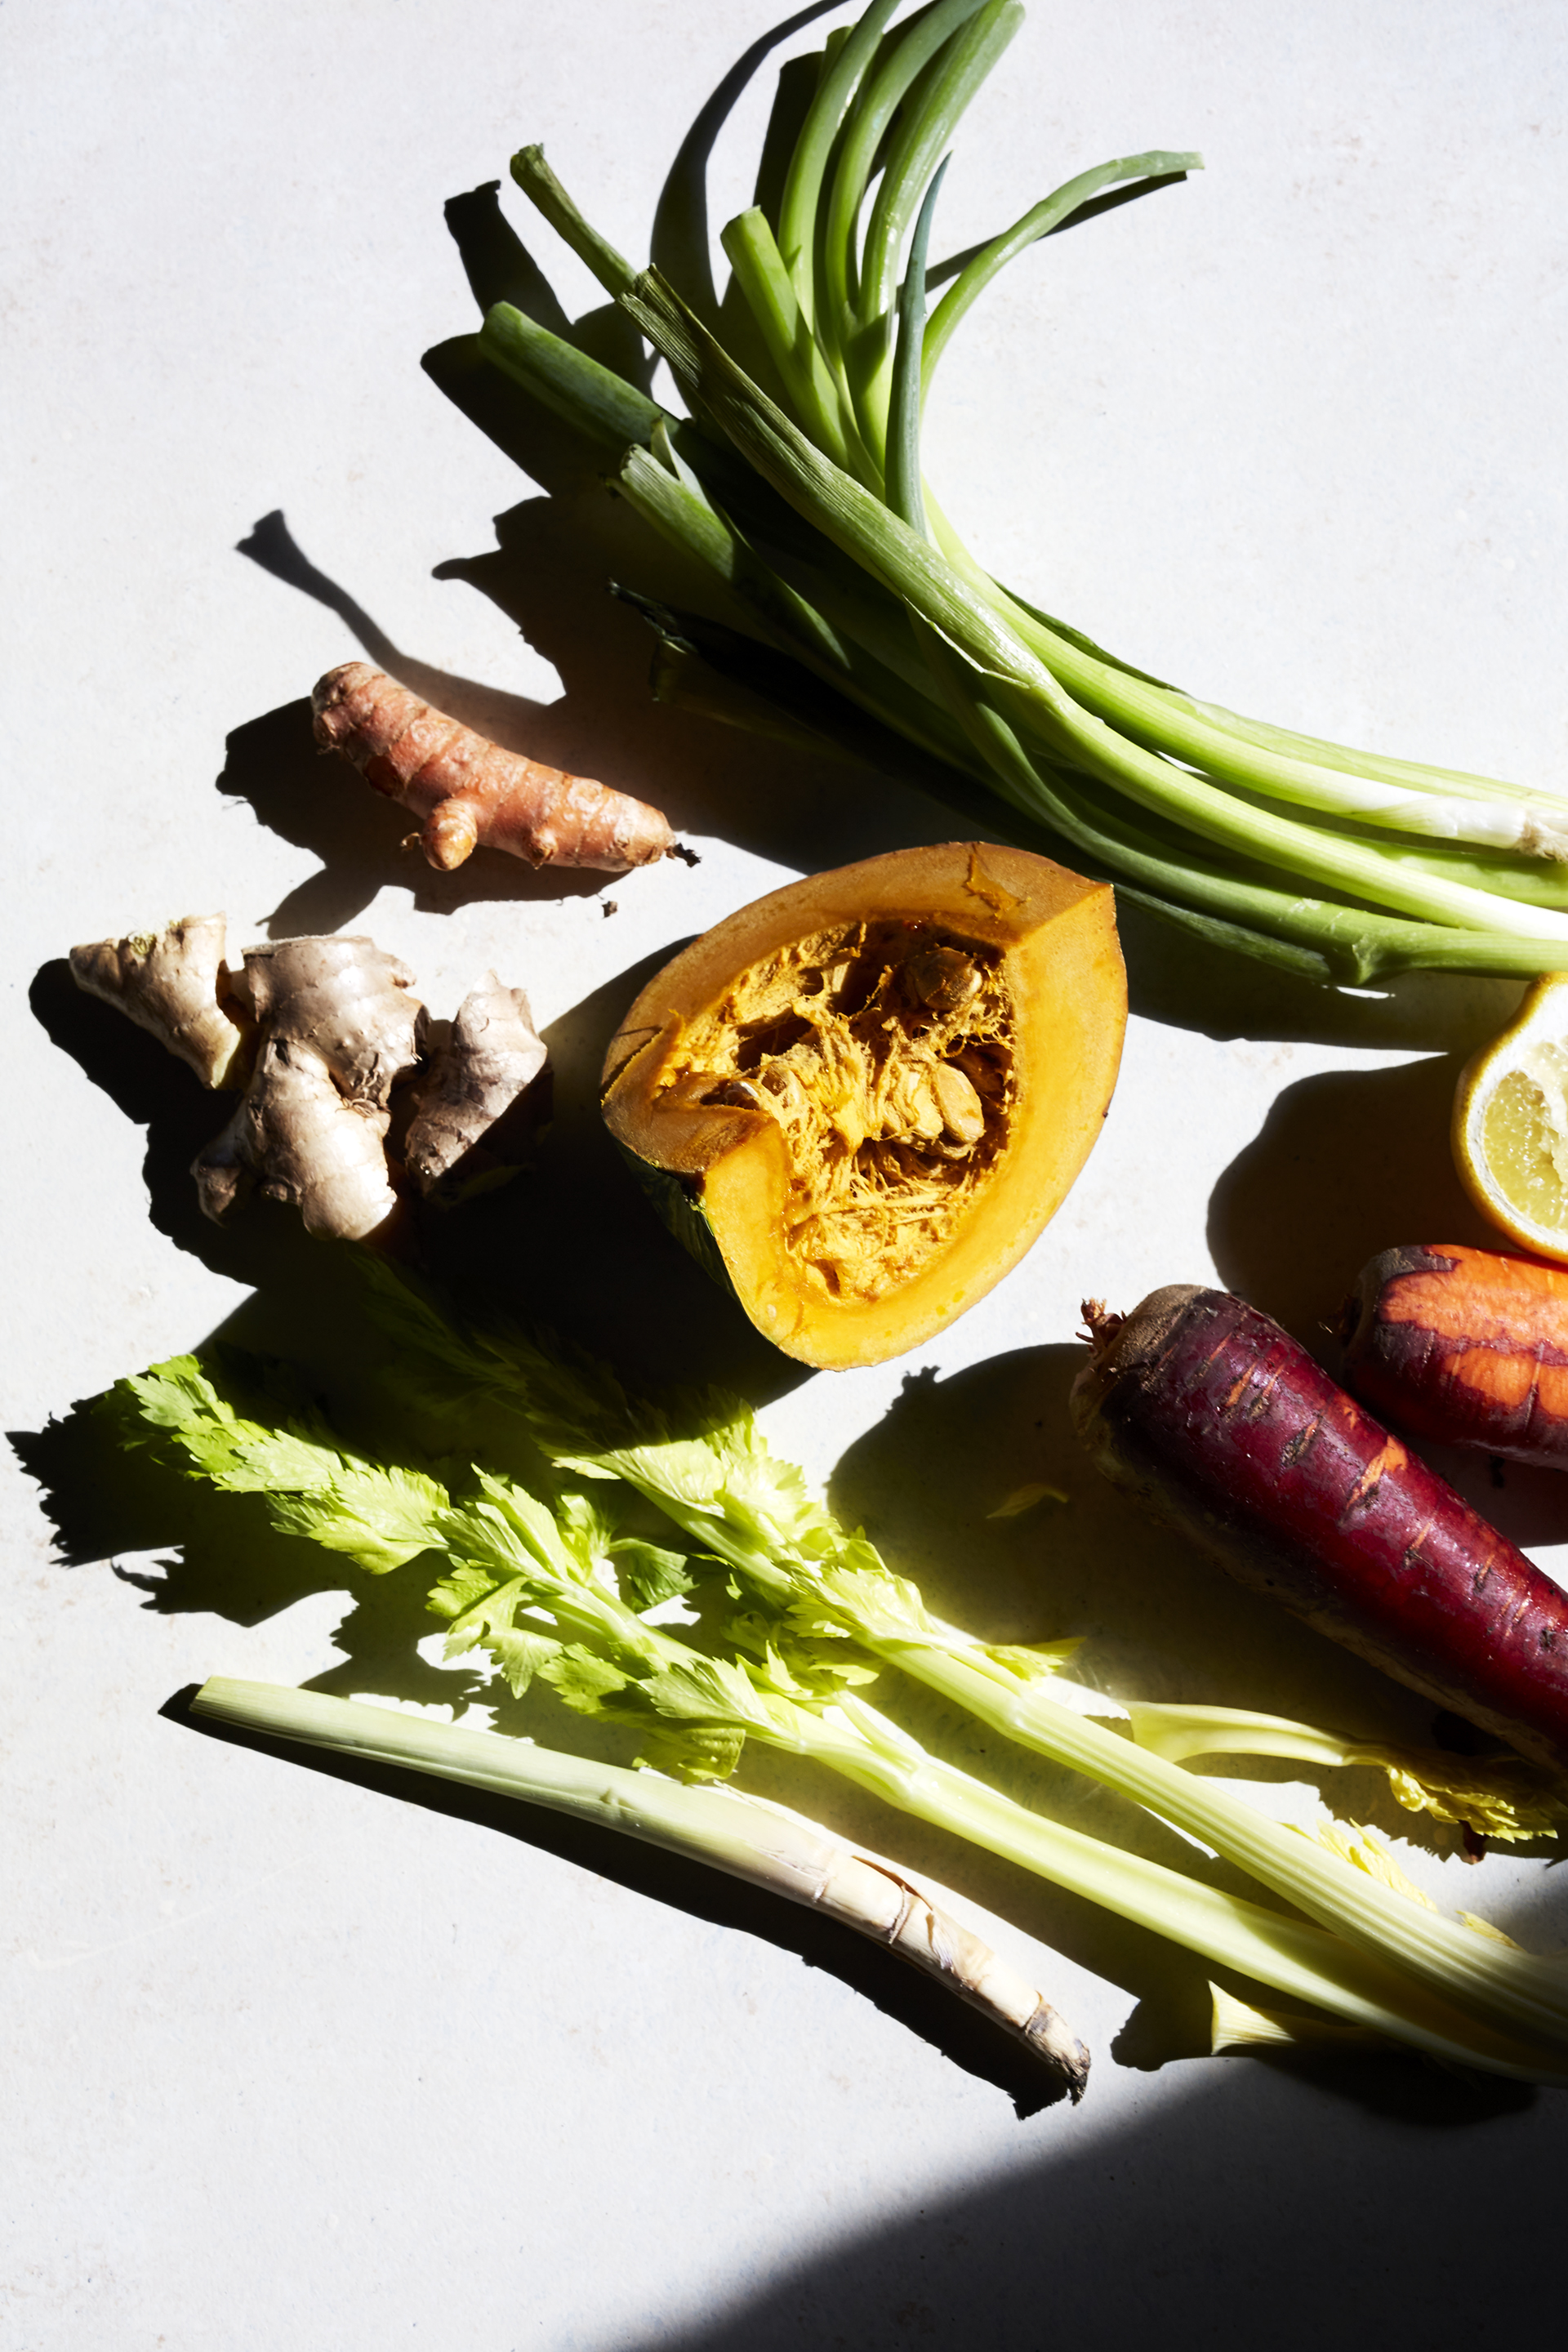
  • 1.5 inch piece of ginger, grated
  • 2 tablespoons maple syrup
  • 2 tablespoons coconut oil
  • 2 tablespoons golden flaxmeal
  • 1/2 teaspoon freshly grated nutmeg
  • 1 teaspoon cardamom
  • 2 honeycrisp apples, grated
  • Cashew yogurt, to serve (or your preference)
  • Dried mulberries, to serve (about 1/2 cup)
  • Drizzle of maple or honey, to serve

Add buckwheat to a mixing bowl or jar.  Cover with filtered water and soak for 6 hours or overnight.  Once groats are soaked, strain and rinse.

In a large saucepan, bring milk and sea salt to a boil, then stir in buckwheat groats, return to boil, then lower to a simmer.  Mix in vanilla, ginger, maple, coconut oil, flaxmeal and spices.  Simmer over low until buckwheat becomes tender and porridge thickens, about 8-10 minutes.  If you like your porridge a little “looser” you can always add more milk or water along the way.  

Once porridge thickens to desired texture, stir in half the grated apple, then divide porridge among four bowls.  Top each bowl with remaining grated apple, a dollop of cashew yogurt, mulberries and a drizzle of maple syrup.  Serve immediately!

CREAMY MISO KABOCHA SOUP WITH TURMERIC, LEMONGRASS & CRISPY LENTILS

It’s Winter.  There’s that bleakness in the air of people desperately craving Spring.  Although, we're closer to sunnier days than we were a couple weeks ago, we're still (unfortunately) in the thick of it.  Temperatures are unstable, snow storms & "frozen rain" have both been in the forecast this last week.  We’re all seeking a bit of comfort, in whatever way we can get it.  

I'm still calling it the beginning of the year even though it's practically (already) March.  Although it's passing quickly, the year so far has been an unprecedented one, in so...so many ways.  Not just “the world” / politically, but I’m personally feeling that “off-ness”.   When it’s time for change - transition - and it feels a little like growing pains.  Not really sure yet where to go with it all, so until then, I’m putting one foot in front of the other, and making soup.

CREAMY MISO KABOCHA SOUP WITH TURMERIC, LEMONGRASS & CRISPY LENTILS (gluten-free, vegan, grain-free) Serves 4-6

This soup is simple, delicious and the perfect warming bowl for these Winter months.  It may seem like a lot of ingredients, but in reality mostly requires a little chopping and adding things to the same saucepan.  If you don’t have fresh turmeric (or ginger) root, add about a teaspoons or so of the ground versions, taste it and decide whether you want more.  For the lemongrass, use the back of your knife to “bruise” the lemongrass - this helps bring out its flavor (don’t forget to remove before ou blend!).  Also, this would still be great without lemongrass, so feel free not to follow the recipe exactly ;)

  • 1/4 cup coconut oil, divided
  • 2 medium carrots, medium diced
  • 2 celery stalks, medium dice
  • 1 bunch of scallions, roughly chopped
  • 2 in. piece of ginger root, minced
  • 4 in. piece of lemongrass, bruised then halved
  • 1.5 in. piece of turmeric root, diced
  • 6 cups of cubed kabocha (or about 1/2 a medium squash)
  • 1 (15oz.) can of coconut milk
  • 3 cups of water
  • 1/4 cup miso
  • 1 1/2 teaspoon sea salt or to taste
  • 1 lemon, juiced
  • Freshly ground pepper to taste
  • About 1/2 cup cooked lentils
  • Greens, to serve

In a large saucepan, add 1 tablespoon coconut oil over medium high heat.  After a minute, swirl oil around in the pan to coat the bottom, then add carrots, celery, scallions, stirring often for about 5-7 minutes or until they begin to cook down and scallions have softened.  

Then, add ginger, lemongrass, turmeric, and kabocha, cook the mixture for 2-3 minutes, then add coconut milk, water, miso and salt.  Bring to a boil, then simmer for about 25-30 minutes or until squash is softened (very easily pricked with a fork).  Taste the broth, it should taste flavorful (if it doesn’t, let it go another 5-10 minutes).  *Don’t forget to fish out your two pieces of lemongrass, if you choose to blend.  Then, use an immersion blender to blend until smooth, or add to a vitamix to whirl up.  Add the juice of one lemon, and stir to combine.

For crispy lentils:  Add 3 tablespoons or so (enough to coat your pan well) coconut oil to a skillet over medium high heat.  Once the pan is hot (hover your hand over the skillet to test), add cooked lentils in an even layer. (You might need to do batches for these, depending on your pan size, don’t overcrowd!)  Let them cook, stirring occasionally to keep from burning.  Add more oil if necessary, they should be “sizzling” in the oil to get them real crispy.  They will take about 2-3 minutes to get crispy, use a slotted spoon to remove and set over a paper towel-lined plate.  

To serve, top soup with freshly ground pepper, a handful of greens or herbs (cilantro or parsley would be great, I used baby arugula), and a small handful of crispy lentils per bowl.  It serves 4-6, depending on what you consider to be a “bowl” or if you’d like this as a meal, or starter.  Store the soup in a jar (beware, it will stain plastic) or tupperware, for up to a week (it hopefully won’t last that long).  The soup will thicken once refrigerated, feel free to use a few teaspoons of water when reheating, or keep it nice and thick.